There’s a lot of news right now about 3D printing medical equipment. But what does it all mean, and what is 3D printing?
3D printing is the process of making an object by laying down successive layers of a printing material in 3 different dimensions (along an x, y, and z axis) until an object is built that has height, width, and depth. The most common material to print with is plastic. The Octavia Lab uses a type of plastic called PLA or Polylactic Acid. We don’t go around calling it Polylactic Acid, it takes too long, but you could. There are other materials used in 3D printing, depending on the goal of the project and the machine being used. There are 3D printers that use resin, metal, or chocolate, for example. But not ours. That would void the warranty.

To get a 3D print you first need a 3D model. There are lots of ways to get one. You can design your own using a range of software. Tinkercad, for example, is a free website that lets you design your own 3D models by building geometric shapes. (If you want to up your Tinkercad game check out Learning Tinkercad on Lynda.com, for free with your library card).
You can also find 3D models that have been made available to the public. Thingiverse, for example, is a 3D design sharing platform. Say, for example, you want to transform Barbie into the Greek goddess, Athena. Someone has, and they’ve posted their design on Thingiverse. Their files are available for you to download. There are also lots of 3D models of museum pieces that are available for free from the Smithsonian.

In order to 3D print, your model needs to be stored as a special type of file. Standard image files don’t work, because they depict things in 2D. The files our printers use are called STL, or Stereolithography, files. STL files describe the surface geometry of 3D objects.
So, if you make or find an STL file for a 3D object you want to print, what do you do? During times when the Octavia Lab isn’t busy making face shields, you could become a member of the lab and get your file printed on one of the lab’s 3D printers. You need a library card, in good standing, and you need to agree to the Octavia Lab’s policies. The library also needs to...be open.

You’d make a reservation with the lab and bring in your STL file, saved on a thumbdrive. Your file can’t exceed 50MB. The object you are trying to print also has to fit onto the build plate of the 3D printer. In the same way you can’t print a full sized movie poster on an office printer, you can’t print a 20’’ Pikachu on an 8’’ wide bed. So the measurements of your model must be smaller than the lab’s 3D printer print beds: 11.6" L x 7.6" W x 6.5" H.
The lab staff will take your file and slice it…

A slicing program is a computer program that translates your 3D model (in STL) into something that the printer understands. Running your 3D model through a slicer also gives you information about how your model will print, an estimate of the time your model will take, and a look at the supports and rafts the slicing program recommends. Digital 3D models don’t have weight and don’t exist in real space, so they never require support. They can just float. But plastic can’t. So the slicer might add supports to your model.

The 3D printer also creates a raft or throwaway area of filament around the print. This helps the 3D printer print and it can be broken off after the print is complete. There is a lot of formatting that can be done during this step. Things like the fill density and printer speed will all affect both the print process and the end results. If you want to, you can go down a rabbit hole of 3D printer settings. But you don’t have to for your first print.
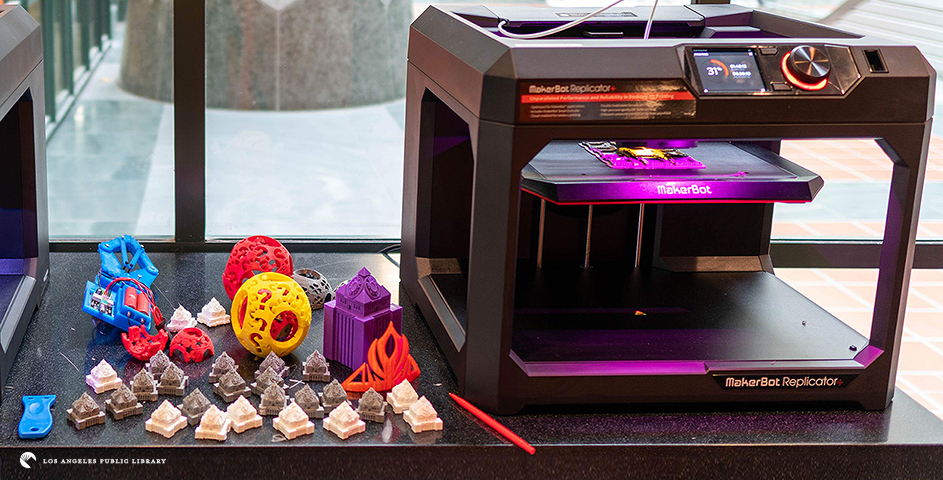
Once your 3D digital model has been sliced, staff will load it into the 3D printer. The Octavia Lad uses Makerbot printers, but there are a wide variety of 3D printers available.
Here is Makerbot with an explanation of its different parts.
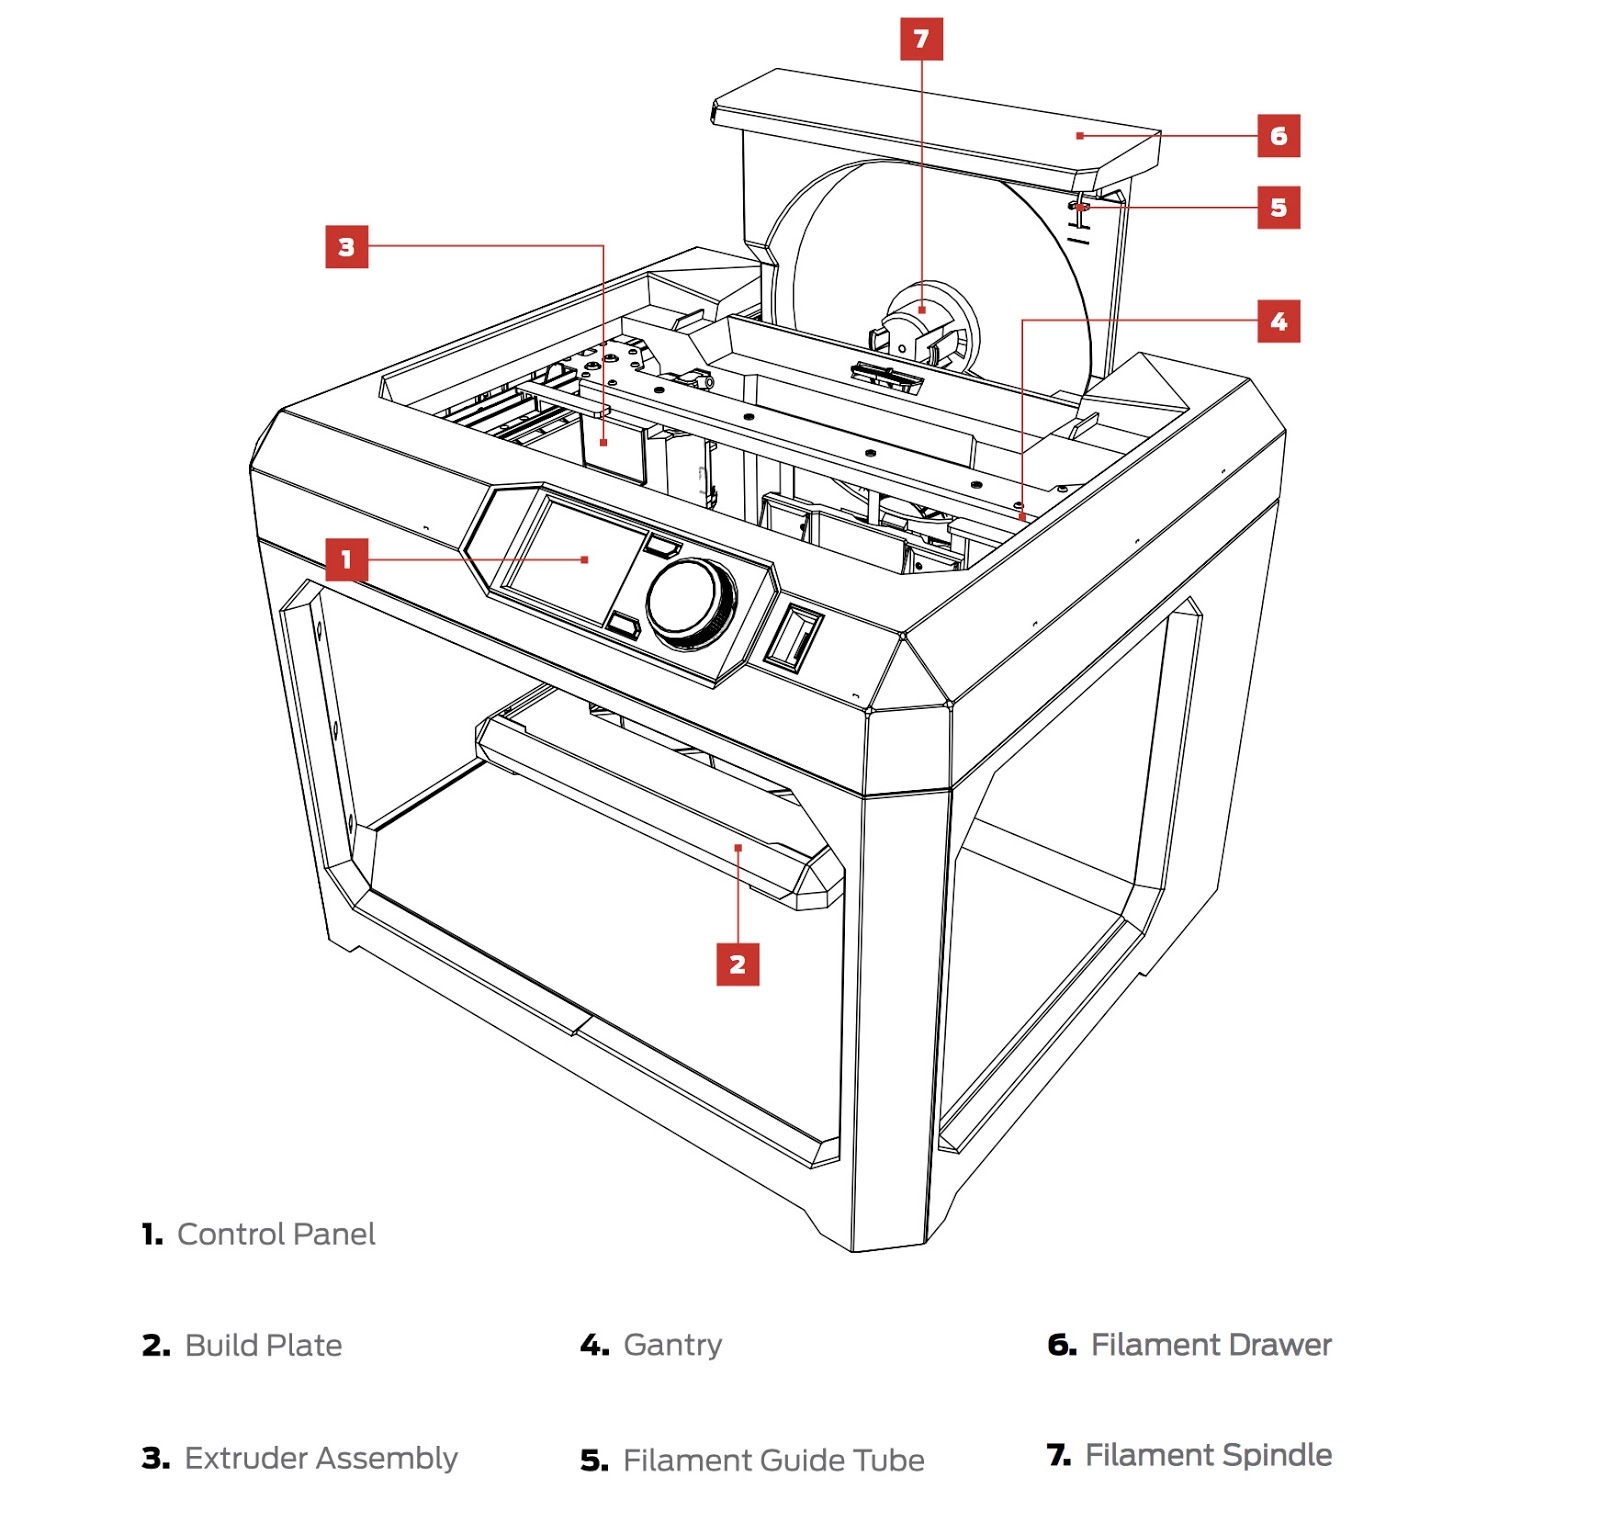
- The Control Panel lets the maker select the file to be printed and gives information about the print job. To the right of the Control Panel is the port the thumb drive is inserted into.
- The Build Plate: is where your print job starts, the ground floor of your print. Your model cannot have dimensions larger than the length and width of the build plate. The printer will usually start by laying down a raft on the build plate.
- The Extruder Assembly: the extruder is the part of the printer that moves the filament to where it needs to be and heats it up before—you know—extruding it onto the build plate. Don’t stick your finger under it, while printing. That would be bad.
- Gantry: moves the extruder assembly where in needs to be to extrude.
- Filament Guide Tube: a plastic tube that guides the end of the PLA filament to the extruder.
- Filament Drawer: the thing that slides out to allow filament to be loaded on to the filament spindle.
- Filament Spindle: the place where the maker, or staff in this case, puts the spool of filament.
Once your print is loaded into the 3D printer, the printer starts by heating up the tip of the extruder and laying down lines of filament that will become the raft. Then, layer by layer, the print builds on top of that. When your print is completed, staff remove it from the build plate and put it aside for you. You can come to the lab to pick it up. You need to be present for the start of the print job, but, depending on the print time, you might not be there for the end.
You may want to clean your print further, by removing supports, rafts, and threads. There are a variety of tools you can use on the surface of a completed print, to get the effect you want. Some people sand their prints, some people paint them. Some people are happy with them right off the build plate. You have options. Between creating a model, printing it, and cleaning the print, a finished 3D print takes a fair bit of time and attention. But it allows you to design and make your own objects. You are now a maker! Go forth and make!
