The Green Screen: How to Get Started

Be truly green, save time, money, and resources by traveling via green screen. Go anywhere, any time, any dimension from the comfort of the Octavia Lab.
Wow, that only took you 15 minutes!
No one will ever know this whirlwind journey happened at the Central Library unless they ask and want to try it themselves. Here's how.
Getting Started With the Green Screen
When you visit the Lab, talk to staff and check out an iPad, a tripod, and use either the ceiling to floor green screen or the portable, collapsible green screen.
We have an app called Do Ink installed on the iPad. You are also welcome to download the app onto your own device and use that to take photos. Your next step is to save the photo to the iPad.
Tips for finding high res photos.
- Option 1: Use a search engine and add “high resolution” at the end of your search.
- Option 2: In your search results, click ‘Tools’ > ‘Size’ > ‘larger than 4 MP’
- Keep in mind, the higher the resolution, the less chance your background will be fuzzy or show pixels. [Also, try to find images that are public domain or have no copyright.]
Tips for taking the photo.
- Option 1: Open the Do Ink green screen app on the iPad, and upload your high resolution photo. [Using the above mentioned tips.]
- Option 2: Set up the tripod and figure out where to stand. Take the photo! Transfer the photo from the iPad to your device or to our Apple computers via AirDrop.
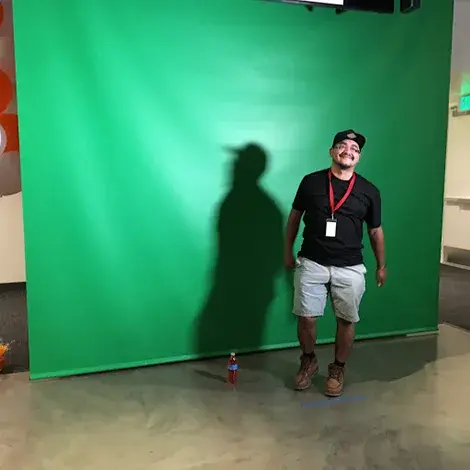
Tips for being a floating head.
- Plan your visit ahead of time and bring a green shirt or another piece of clothing that can cover you.
- When you take your photo, the green of the shirt will be perceived as part of the green screen and only your head will show up!